Rock Band Simulator Garage, Gear & Progression
Fix the amp, build the space, collect the myth — spend in the right order.
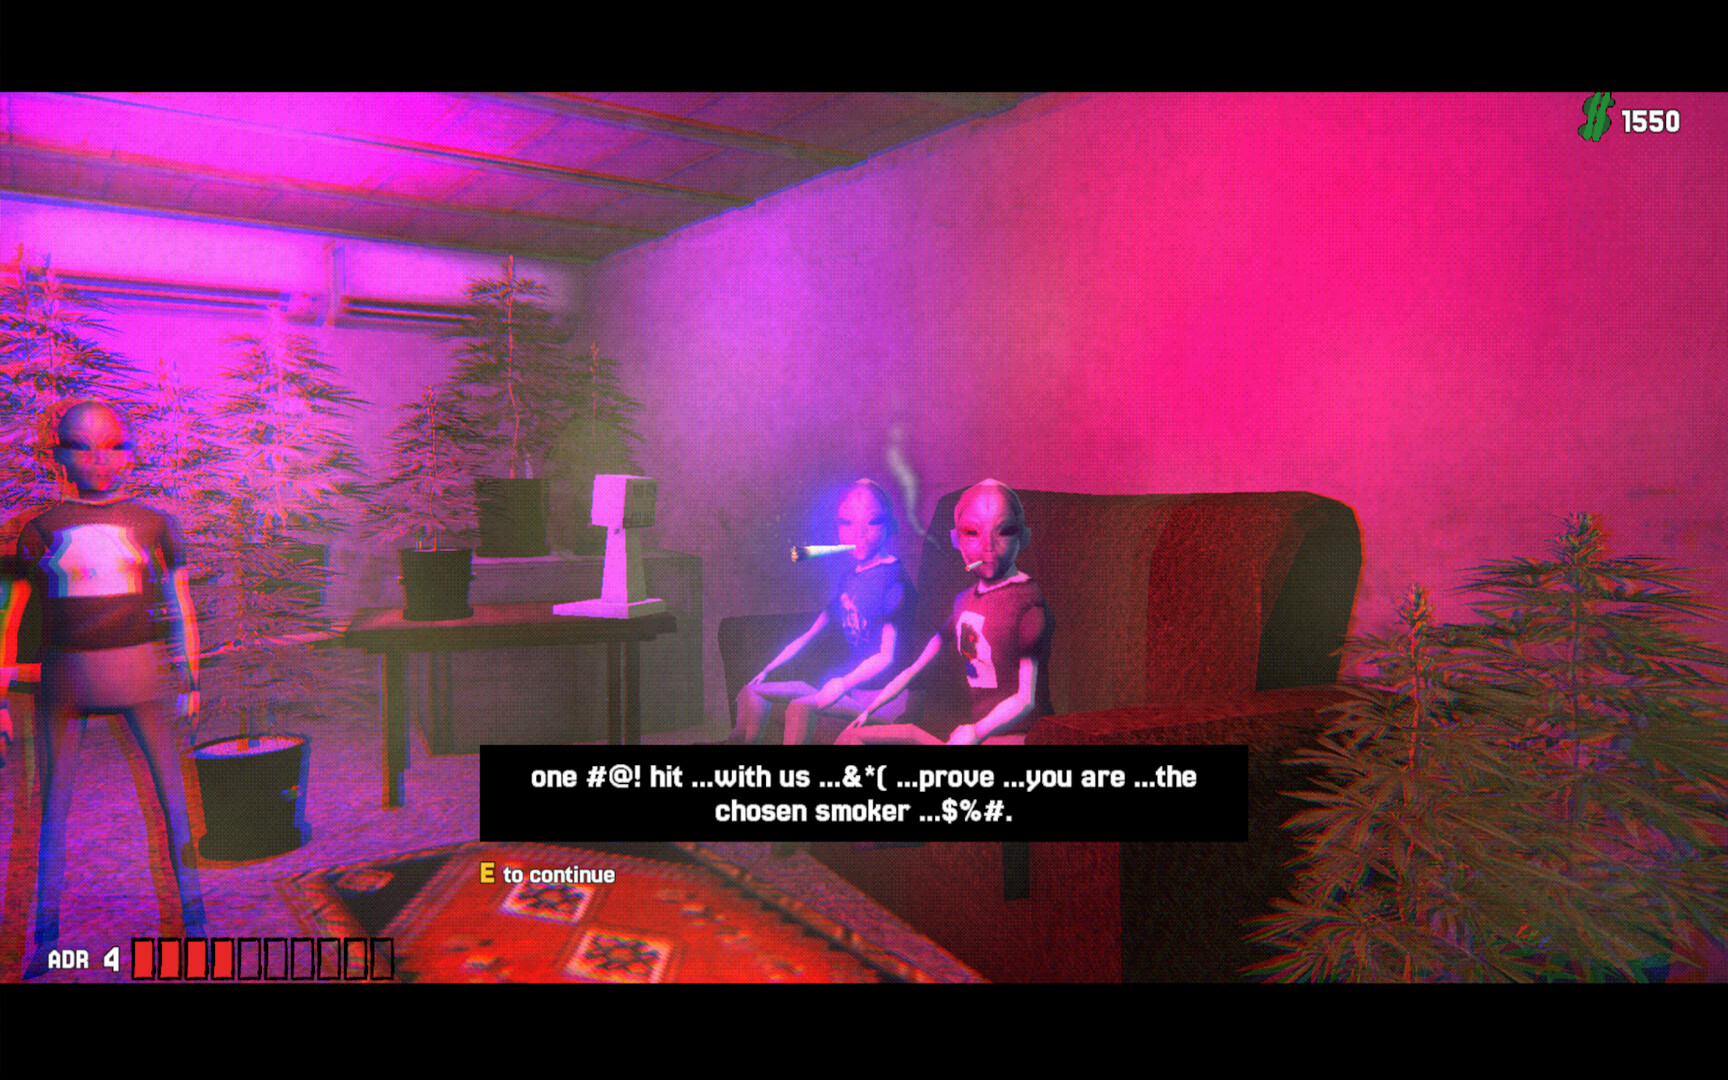
Between gigs and whatever happened on the way home, Rock Band Simulator lets you upgrade and customise the garage that keeps the band alive. You also pour cash into gear, the car, the character, posters, vinyl, photos, and an in-game social following. This guide ranks what to buy first so your 21:00 concerts improve before your walls look cool.
Pair this with Getting Started for early money, the Concert Guide for why gear matters on stage, the Seven-Day Walkthrough for when to spend during the week, and the Endings Guide for why reputation-capable setups help finales.
What the garage is for
The garage is home base: a shitty starting room that can become a place worth returning to. Upgrades and collectibles turn it into a diary of the week — posters earned, photos taken, vinyl found, scars implied. Some items arrive legally. Some do not. Either way, the space tracks progression beside raw cash.
Do not confuse diary with power. A beautiful garage with a dead amp still plays a bad show.
Priority ladder (buy in this order)
1) Critical performance gear
Fix the amp. Stabilise instruments. Buy the upgrades that most directly improve concert reliability. Official framing is blunt: another amp costs money, and better equipment is the straightest line to better shows. Better shows build reputation. Reputation feeds the week.
If cash is tight, this tier eats first. Everything else waits.
2) Stage / reliability support
Secondary gear that reduces failure states — backups, practical stage pieces, anything that keeps a set from collapsing when Ashport already tried to break you during the day. Still performance-linked. Still ahead of cosmetics.
3) Car upgrades that save time or risk
The car matters when it shortens travel, improves reliability, or reduces the chance you blow a schedule before 21:00. Flavour-only car cosmetics rank lower unless you already cleared tiers 1–2.
Time is a resource in a seven-day clock. Mobility that protects the clock is mechanical, not vanity.
4) Character customisation with a purpose
Spend on character changes that you enjoy — identity is part of the fantasy — but treat pure cosmetic character buys as post-stability fun. If a character item somehow ties into social presence or story hooks, raise it slightly; otherwise park it behind gear.
5) Posters, vinyl, photos, social following
Collect posters, take photos, grow the in-game social media following, and fill the garage with proof you lived the week. These systems are excellent for motivation, ending mood, and making the space feel like a band cave. They are usually worse than amp money when you are still failing songs.
Use them as rewards after a strong concert night, not as substitutes for one.
Early week spend plan (days 1–3)
- Convert cans/odd-job cash into critical gear immediately.
- Avoid dumping the first windfall into posters.
- Leave a small buffer for emergency repairs after fights — see ADR Combat.
- Blackjack winnings are house money only after tiers 1–2 are honest.
Demo players often stop in this window; full-game players should exit day three able to perform without begging the amp for mercy.
Mid week spend plan (days 4–5)
- Finish remaining performance gaps.
- Unlock car improvements if travel friction is eating quest time.
- Start selective collecting: posters/vinyl that appear naturally while you hustle.
- Grow social following as a parallel track, not a main quest replacement.
- Keep cash for relationship-enabling errands; some “upgrades” to the week are paying to be present for Evgen or Diman.
Midweek is where players over-decorate and under-prepare for harder nights.
Late week spend plan (days 6–7)
- Emergency repairs only plus targeted power spikes for must-win shows.
- Cosmetics and collection completion if your performance baseline is already safe.
- Do not bankrupt the buffer on day seven vanity right before a finale concert.
- Remember endings care about relationships and reputation more than whether every wall slot is filled — Endings Guide.
Money sources vs upgrade appetite
| Source | Fits which upgrade tier? |
|---|---|
| Cans / simple jobs | Tier 1 bootstrap |
| Steady odd jobs | Tier 1–2 |
| Blackjack spikes | Tier 1–2 if disciplined; cosmetics if already stable |
| Shady jobs | Faster tiers, higher ADR/schedule risk |
| Post-concert surplus | Ideal for posters/vinyl/social flex |
If a shady job endangers hands before a show, it is not “funding the garage” — it is funding a worse concert. Read Concert Guide prep rules before you invent a loan-shark shopping spree.
Collectibles mindset
Posters — identity and space fantasy; chase when gear is stable. Vinyl / CDs — collection progress and garage flavor. Photos — narrative scrapbook of the week. Social following — soft progression meter that makes success feel public.
None of these replace timing windows. All of them make a good run feel like your band.
Some collectibles arrive through questionable means. That is on-brand. Still weigh heat and time the same way you weigh any Ashport shortcut.
Garage as relationship space
A upgraded garage is not only for you. It is where the band returns after arguments, wins, and injuries. Making the space functional can support morale fantasy even when the script does not print a +2 buff. If Evgen and Diman are spiraling, spending an evening only on wallpaper while ignoring them is still an ending choice.
Common upgrade mistakes
- Buying posters before fixing the amp
- Maxing car cosmetics while instruments lag
- Gambling upgrade funds at blackjack “because the garage deserves it”
- Fighting for collectible money at 20:30
- Treating social following as more important than showing up with both bandmates
Suggested first-clear shopping mantra
Playable → Mobile → Personal → Iconic.
Playable gear. Mobile car when needed. Personal character touches. Iconic posters/vinyl/social myth. Repeat that mantra each time Ashport drops a shop opportunity in your lap.
Cross-links while you optimize
- Getting Started — first cash and first amp logic
- Seven-Day Walkthrough — when during the week to invest
- Concert Guide — why upgrades show up on stage
- ADR Combat — stop funding the doctor instead of the garage
- Tier List Hub — community priority lists as they settle
- Updates Hub — economy tweaks after patches
Build a garage that proves you survived the week — but buy the sound that gets you through tonight first.
Frequently Asked Questions
Quick answers about surviving Ashport and making the 21:00 show.
What should I upgrade first in the garage?
Critical performance gear — especially amp and instrument readiness — before posters, vinyl, or pure cosmetics.
Are posters and vinyl worth it?
Yes for fantasy, collection, and making the garage feel alive. Buy them after your concerts are mechanically stable.
Does the car matter?
Upgrade the car when it saves time or reduces schedule risk before 21:00. Pure cosmetic car parts wait until gear is solid.
Should I use blackjack money for upgrades?
Only after you can afford to lose the stake. Fund tier-1 gear with steady jobs first; see Getting Started.
Do garage upgrades affect endings?
Indirectly. Better gear supports reputation via stronger shows, which feeds ending quality. Relationships still matter — see the Endings Guide.