Rock Band Simulator Gear Upgrade Tier List
What to buy first so Ashport shows hit harder—and what can wait until later in the week.
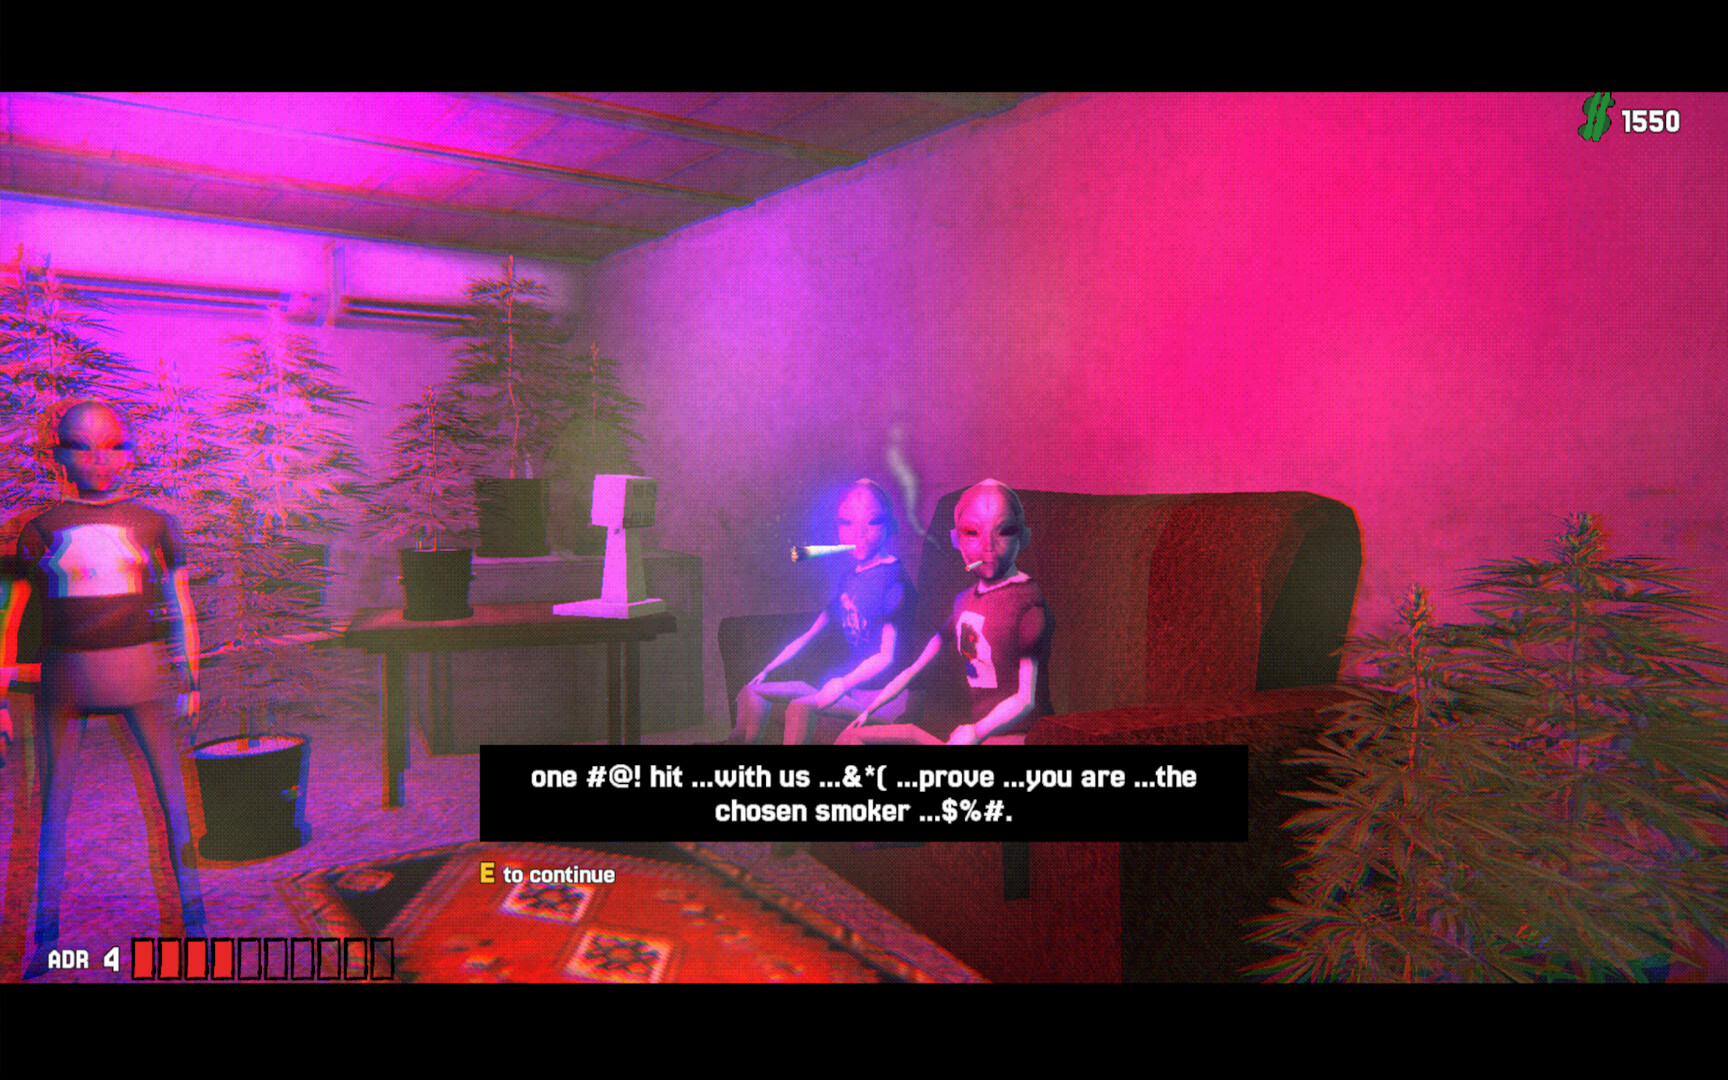
In Rock Band Simulator, gear is not a fashion menu—it is survival infrastructure for a seven-day Ashport week. You start with a rough garage, barely enough money, and a concert at 21:00. Evgen needs a bass path that works. Diman needs drums that are more than scrap. You need an amp that will not die mid-set. This tier list ranks upgrade priorities for amps, guitars, drums, and related garage gear using launch-week knowledge from the full Steam release (app 4697880) and the earlier demo’s first three days.
Criteria: impact on concert quality and reputation, unlock or enable value for later quests, cash efficiency, and whether the upgrade protects you from failed gigs that sour bandmate relationships. Cosmetics, posters, vinyl, and social-media clutter still matter for immersion and some ending flavor, but they sit lower when the kit itself is broken.
Cross-check money routes on the Jobs Tier List before you blow a day’s earnings on a vanity purchase. Keep Bandmates conscious enough to use the gear you just bought.
S tier — buy or fix these first
Working amp / PA path
When the amp is fucked, everything else is theater. A functional amplification path is the clearest S-tier spend in the early days. Concerts are rhythm-based: you choose what comes next, control set flow, and decide when to call it a night. None of that reputation gain sticks if the stage collapses into noise and arguments on the walk home. Prioritize repairs or a replacement amp as soon as cans, odd jobs, or a careful blackjack session can fund it.
Why S: directly gates show quality, reduces post-gig fights with Evgen and Diman, and supports the nightly 21:00 loop that defines the game.
Diman’s drum kit (usable, not decorative)
The store and trailers hammer the same joke for a reason: you need both bandmates in the same place, preferably conscious—and they need something to play. Hunting a second-hand drum kit is a recurring early pressure. Treat a playable kit as S-tier gear, not a side collectible. If Diman is present but the kit is garbage, your set ceiling stays low even when your guitar work is clean.
Why S: drums are a three-piece band’s spine; missing or broken kit turns “we played” into “we argued.”
Core stage readiness (cables, basics, not clutter)
Boring connectivity and stage basics beat neon posters on day one. If an upgrade clearly prevents a failed start-of-show or lets you begin the rhythm set without scrambling, it inherits S-tier status beside the amp and drums. Spend here before you decorate.
A tier — strong once the stage works
Lead guitar upgrades that change feel or reliability
You are the lead guitarist. Better guitars and playability upgrades sit in A tier: excellent once the amp and drums are stable, situationally S if your current axe is literally unusable. Do not chase a dream guitar while Diman is still hitting paint cans. When the core kit works, guitar upgrades improve concert expression, crowd reaction potential, and how confident the nightly set feels.
Garage functional upgrades (storage, practice space, car when it unlocks routes)
Between gigs, you upgrade and customise the garage so the band has a place worth coming home to. Functional garage upgrades—space that helps prep, storage for earned or “acquired” gear, and mobility upgrades that shorten Ashport travel—are A tier. They compound across seven days: less time walking means more time for jobs before 21:00.
Bass-side readiness for Evgen
Evgen is calm, experienced, and often the reason the band still exists. Keeping his side of the stage functional is A-tier gear priority: not always as flashy as your guitar, but missing bass ruins the mix and the mood. Pair gear spends with actually locating him—see the Players Hub.
B tier — fine, do not obsess
Cosmetic garage fills and early collectibles
Posters, photos, vinyl, CDs, and in-game social following are part of the fantasy. Fill the garage with things you earned (some of them legally). For tier purposes, early cosmetics are B: enjoyable, useful for atmosphere and long-term completion, weak if they delay amp/drums. Schedule collectible runs after the nightly show or on days when main quests already take you across the right blocks.
Situational instrument swaps
Alternate guitars or kit pieces that only shine on specific songs or reputation breakpoints belong in B until you know your set patterns. Experiment after you can survive a clean 21:00 show on stock-plus-amp basics.
Comfort items that slightly help ADR days
Beer, cigarettes, and other substances affect condition and the Adrenaline system more than they count as “gear,” but related comfort purchases in the garage or on your person can feel like upgrades. Keep them B-tier supporting tools: helpful for managing ADR sweet spots, dangerous if they strand you drunk before soundcheck.
C tier — defer or skip early
Pure vanity before day stability
Skins, flex items, and clutter that do not change concert reliability are C tier in the first half of the week. The game’s humor loves bad decisions; your save file does not need to copy them on Monday morning.
High-cost prestige buys funded by panic gambling
If the only way to afford a flex upgrade is all-in blackjack with no time buffer, the purchase inherits C-tier status even if the item itself looks cool. Gear ranking includes acquisition risk. A shiny guitar bought with broken hands and a missed gig is a net loss.
Redundant duplicates
Owning three broken amps is not a strategy. Avoid duplicate sinks until you understand which upgrades actually stack for days 4–7 content.
Suggested spend order (days 1–3 vs 4–7)
Days 1–3 (demo-shaped early week): amp path → usable drums → stabilize guitar → light garage function. Use safe money from the Jobs Tier List. Learn Controls so combat scrapes do not destroy the hands you need on stage.
Days 4–7 (full game stretch): revisit A-tier garage and character customisation, chase collectibles that support reputation and endings, and fund gear that matches new quests, mini-bosses, and tougher Ashport nights. Launch coverage on Launch Notes explains what the full week adds over the October 19 demo.
Combat gear vs stage gear
Street fights use punch, block, and whatever is lying around—empty cans included—under the ADR system instead of a classic health bar. Hit in the sweet spot; push too far and you drop. That loop can feel like “gear,” but thrown trash and bar stools are situational tools, not S-tier investments. Protect your hands: you need them for the concert. Do not confuse winning an alley fight with being ready for 21:00.
How this list pairs with jobs and bandmates
- Earn with an S/A job route that finishes early.
- Buy the highest unfinished S-tier gear item you can afford.
- Confirm Evgen and Diman will actually show up—Bandmates.
- Manage ADR; avoid knockout before soundcheck.
- Play the set; reinvest reputation and cash the next morning.
Return to the Tier List Hub for the jobs companion chart, or jump to Getting Started if you are still learning Ashport’s daily rhythm. For official store context and community links, see Links.
Quick reference table
| Tier | Focus | Example priority |
|---|---|---|
| S | Show-critical kit | Amp path, usable drums, stage readiness |
| A | Multipliers | Guitar upgrades, functional garage, Evgen-side readiness |
| B | Flavor / later | Posters, vinyl, comfort, situational swaps |
| C | Traps | Vanity-first, panic-gambling buys, redundant junk |
Play the gig. Upgrade like you mean to last the week—not like you already blew the rent on day two.
Frequently Asked Questions
Quick answers about surviving Ashport and making the 21:00 show.
Is the amp always higher priority than a better guitar?
Almost always in the early week. A louder, working amp path supports the whole band’s set. Upgrade the lead guitar once amplification and drums are stable—or immediately if your current guitar is unusable.
Do garage cosmetics affect endings?
Collectibles and customisation support atmosphere, reputation toys, and long-term completion. They rarely outrank show-critical kit for reaching stronger weekly outcomes, so treat them as B-tier until nights are consistent.
Should I buy gear before finding Diman or Evgen?
Locate and stabilize bandmates first if a show is imminent. Gear without players is dead weight; players without gear still struggle—sequence whichever crisis is closer to 21:00.
Are thrown cans and fight props worth upgrading into?
No. Environmental weapons help ADR scrapes, but they are not stage investments. Win the fight, protect your hands, and spend cash on amp/drums/guitar priorities instead.
Does the full release change gear priorities versus the demo?
Core S-tier logic holds. Days 4–7 add more quests and endings, so functional garage and mid-week instrument upgrades rise in value after the demo’s three-day slice.