Rock Band Simulator Gear & Jobs Tier Lists
Spend cash and time where it actually moves the needle before the nightly show.
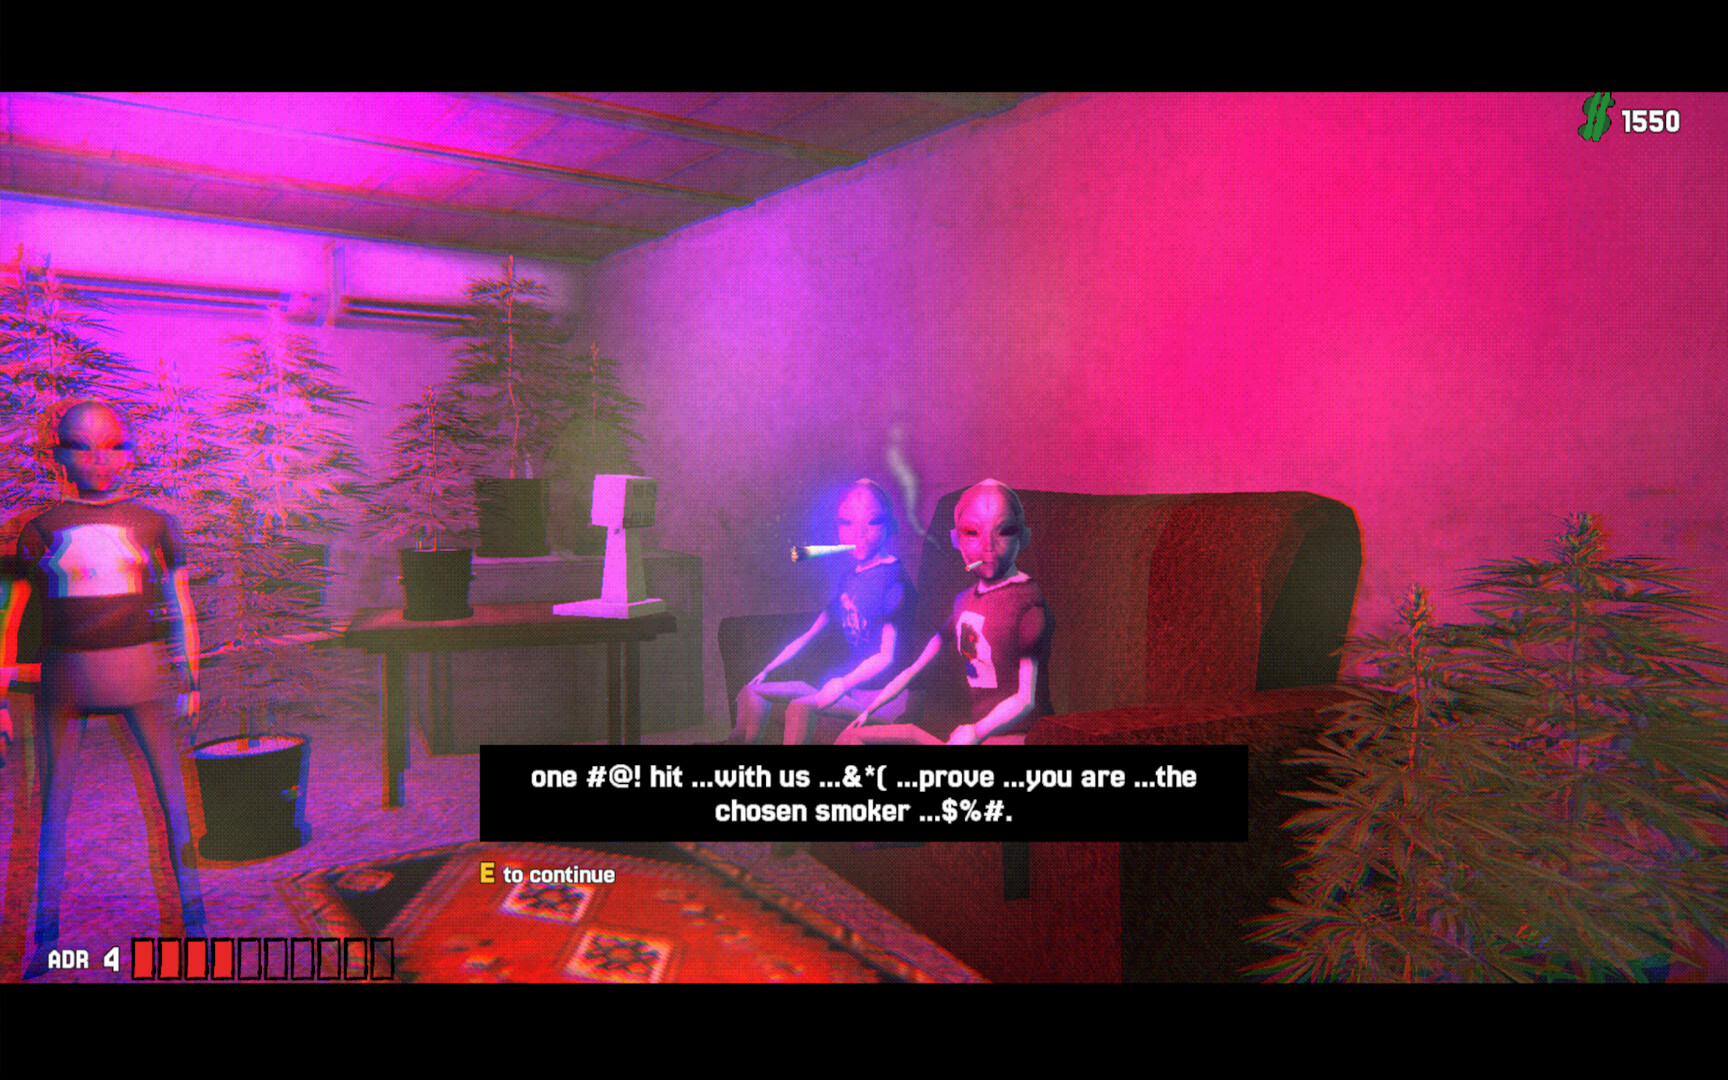
Rock Band Simulator is a seven-day Ashport life sim where every upgrade and every hustle competes with the clock. You are the lead guitarist. Evgen holds down bass. Diman sits behind the kit. At 21:00 you still have a concert—whether your amp works, your drummer is conscious, and your wallet survived blackjack. This hub ranks the two systems that decide most runs: gear upgrades and jobs / money routes.
Use the lists below when you are stuck choosing between a second-hand drum kit, a louder amp, collecting cans all afternoon, or taking a shady back-room offer. Criteria stay practical: time-to-gig, risk of ADR fights, cash per hour, and how much the upgrade improves the next show or unlocks better work.
How we rank
- S tier — Do this early or often. Clear payoff before 21:00 with manageable risk.
- A tier — Strong once basics are covered; situational but high value.
- B tier — Fine filler or flavor; do not let it eat a whole day.
- C tier — High risk, soft payoff, or traps that strand you before soundcheck.
Rankings assume a normal single-player run on PC (Steam app 4697880), ~$14.99 launch pricing, and the full seven-day week after the October 19 demo. They are not PvP meta charts—there is no online multiplayer. They are progression priorities for a Very Positive-rated first-person rock life sim from KONTRĀST MEDIA and PlayWay S.A.
Gear tier list
Start here when cash is burning a hole in your pocket and the garage still looks empty. Amps, guitars, drums, and stage kit change how concerts feel and how hard you can push reputation. Garage cosmetics and collectibles matter for immersion and endings flavor, but they rarely beat a working kit before night one.
Read the full breakdown: Gear Tier List.
Highlights you will see there:
- Why a reliable amp often outranks vanity guitar skins early
- When Diman’s drums become the bottleneck for set quality
- How garage upgrades stack with reputation and social media collectibles
- What to skip until days 4–7 when quests and endings open up
Jobs tier list
Ashport pays in cans, odd jobs, blackjack tables, and work that gets harder to explain the further you lean in. The jobs list ranks routes by risk-reward and time-to-gig. A safe can run that funds a repair before 21:00 beats a “quick” robbery that ends with police, broken hands, and a missed show.
Read the full breakdown: Jobs Tier List.
Expect guidance on:
- Low-risk filler that still funds gear
- Blackjack variance versus guaranteed side work
- Risky jobs that print cash if ADR combat goes your way
- Routes that steal the afternoon and strand Evgen or Diman
How to use both lists together
- Check the clock and bandmate status first—see Bandmates if Evgen is missing or Diman is wrecked.
- Pick a money route from the Jobs Tier List that finishes with buffer before 21:00.
- Spend on the highest gear priority you can afford from the Gear Tier List.
- Rehearse or rest ADR with beer/cigarettes carefully—sweet spot hits harder; overshoot and you go down.
- Play the gig, then reassess for tomorrow’s main quest and random events.
New players should also skim Getting Started and the Controls page so interact, punch, block, and concert note play feel natural before you chase S-tier hustles.
Related hubs
- Players Hub — Evgen, Diman, and keeping the lineup conscious
- Tools Hub — controls and PC system requirements
- Updates Hub — launch notes, demo history, what days 4–7 add
- Links — Steam, Discord, Instagram, demo page
Tier lists will shift as patches land and the community finds cleaner day routes. For launch week, treat S-tier gear and A-tier safe jobs as the default plan, then experiment once you know Ashport’s streets and the ADR sweet spot.
Frequently Asked Questions
Quick answers about surviving Ashport and making the 21:00 show.
Should I upgrade gear or chase risky jobs first?
Fund one working kit path (often amp or drums) with safe odd jobs or cans, then sample higher-risk work only with time buffer before 21:00. Broken hands and knockouts waste the night’s concert.
Do tier ranks change between the demo and full game?
Priorities are similar on days 1–3. Days 4–7 add more quests, events, and endings, so late-week shady jobs and garage upgrades climb in value once early gear is stable.
Is blackjack ever S tier?
Usually A or B depending on bankroll and clock. Variance can fund an amp in one lucky streak or wipe the afternoon—pair it with a backup can run if the gig is close.
Where do bandmate problems fit into these lists?
Finding Evgen and sobering or collecting Diman outranks most C-tier side content. A perfect amp does nothing if bass and drums are missing at showtime—see the bandmates guide.