Rock Band Simulator Ashport Map & Locations
Where to hustle, hide, fight, and still make the 21:00 show.
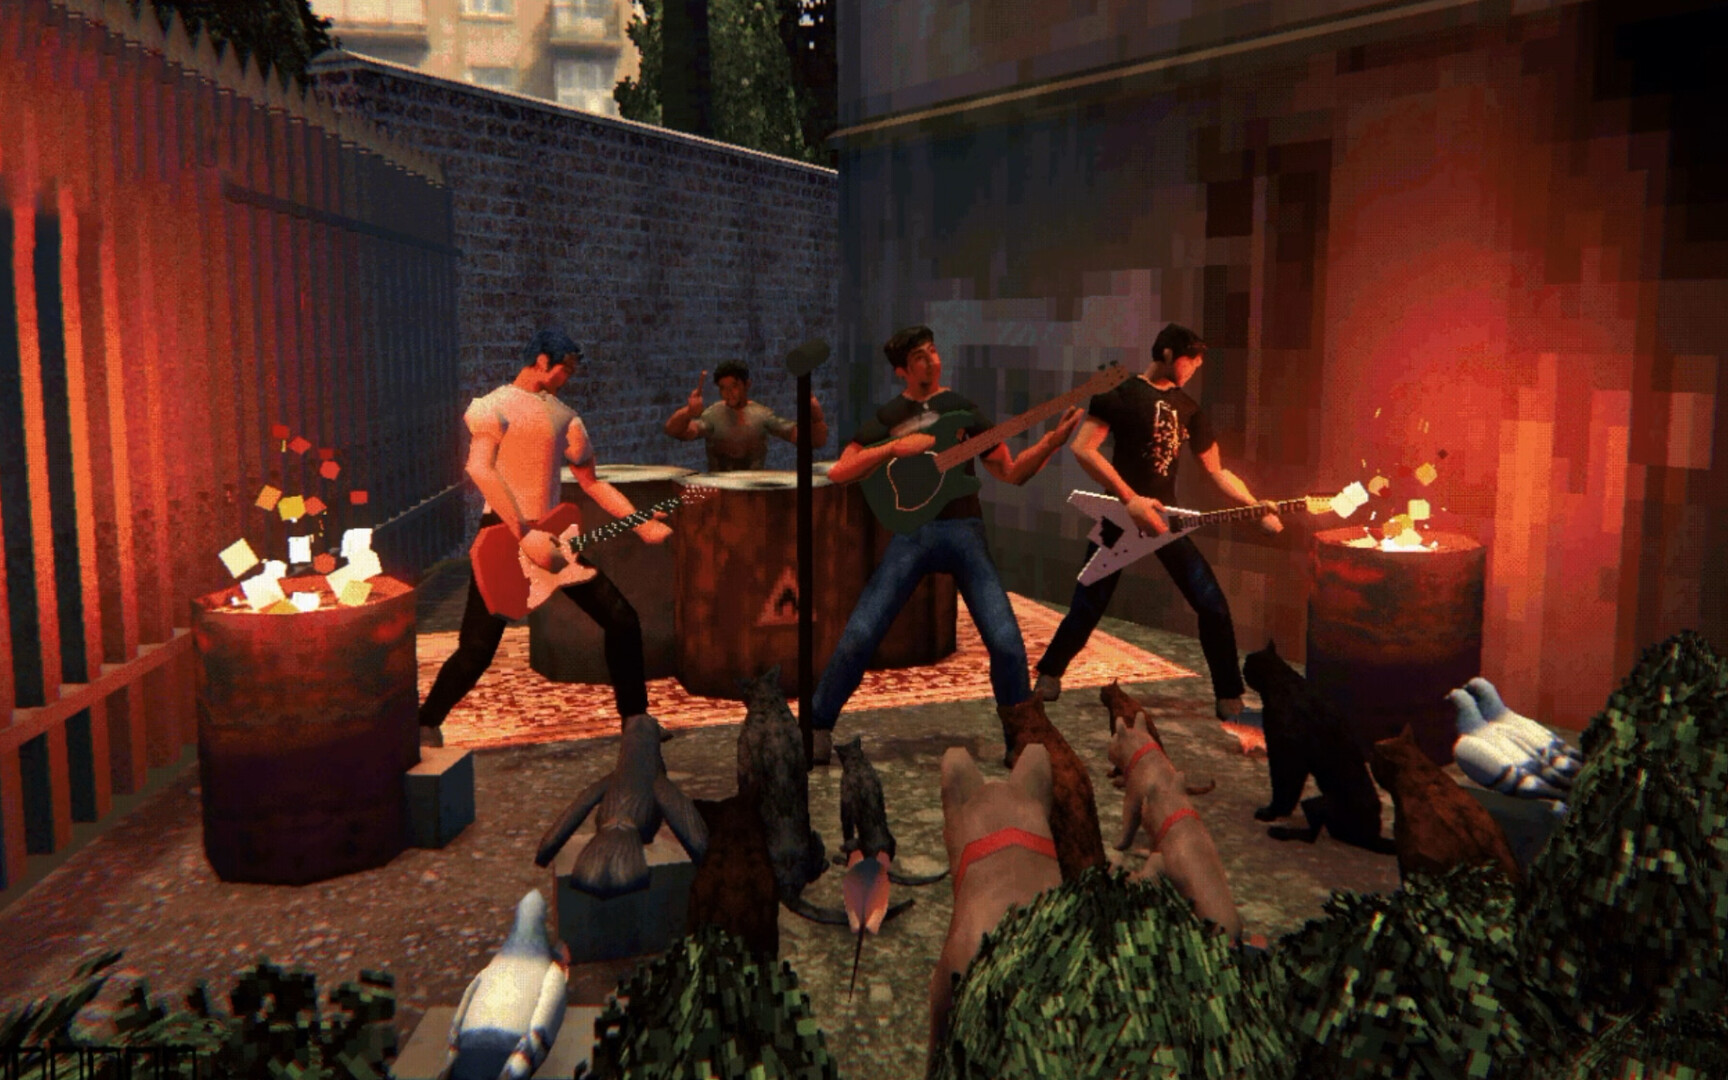
Ashport is a compact 1990s neighborhood that feels bigger than its footprint because every block wants something from you. Rock Band Simulator is not an open-world checklist sim — it is a first-person life loop where bars, back rooms, streets, the garage, the trailer park creek, and nightly venues compete with the clock. This locations guide helps you explore with purpose so you earn cash, find Evgen and Diman, and still hit the stage at 21:00.
Cross-link money routes on Make Money and the Jobs Tier List. Roster pressure lives on Bandmates. Day structure sits in the Seven-Day Walkthrough.
How to read Ashport
Think in loops, not tourist pins:
- Home base — garage prep, gear, collectibles, recovery
- Daytime hustle — streets, odd jobs, cans, rumors
- Social / shady — bars and back rooms where deals and fights start
- Outskirts flavor — trailer park and creek for exploration and side beats
- Night venue — wherever tonight’s concert lands; the clock does not negotiate
If a location does not serve cash, roster, gear, or story before showtime, visit it after a strong gig or on a buffer day.
Garage — home base
The garage starts as a shitty empty room and becomes your diary of the week. Return here to:
- Check and buy performance gear before posters — Garage Upgrades
- Stage instruments so Evgen and Diman have something that works
- Dump collectibles (vinyl, posters, photos) once the amp is honest — Collectibles
- Reset mentally after ADR scrapes — ADR Combat
Treat the garage as a checkpoint, not a place to over-decorate at 20:30.
Bars — information and trouble
Bars are Ashport’s bulletin board with beer. Talk to locals, pick up job leads, and watch for arguments that escalate into ADR fights. Useful habits:
- Enter with a time budget — leave if the clock is tight
- Read job pitches twice; vague “easy money” is often a fight with extra steps
- Do not “warm up” with drinks right before a gig; substances change condition
- Ask about Evgen and Diman when either is missing
Bars feed both the Jobs Tier List and relationship drama. They are high value and high variance.
Back rooms — deals you may regret
Behind the public rooms sit the conversations that fund better gear — or wreck your hands. Back rooms host shady work, private blackjack pressure, and story beats that intensify after the demo’s Wednesday cut. Rules of thumb:
- Scout exits before you commit
- Prefer jobs that finish with a buffer before 21:00
- If cameras, gangs, or police enter the pitch, treat it as C-tier timing unless the main quest forces it — details on Make Money
- Remember Friday’s late-week energy can start rougher than a normal morning; keep inventory and bandmates in mind
Streets — cans, transit, ambushes
Streets connect everything. Use them for:
- Can collecting as structured filler between objectives
- Short travel between garage, bars, and venues
- Random encounters that teach ADR without a formal quest marker
Street time is cheap and flexible. It becomes expensive when you chase pride fights with swollen hands an hour before soundcheck. Protect the guitarist — that is you.
Trailer park and creek — demo-famous corner
The trailer park and its creek are part of Ashport’s lived-in map. Demo Update #1 even restored proper water in the creek after community reports — a small reminder that the neighborhood is a crafted space, not a void. Explore here for:
- Side flavor and exploration beats
- Alternate paths when main streets feel hot
- Quiet filler when you need cans or breathing room
Do not assume every trailer-park lead is safe; “quiet” neighborhoods still host bad ideas.
Venues — the 21:00 hard stop
Wherever the nightly show happens, treat the venue as sacred schedule space. Before you arrive:
- Hands intact (skip optional brawls)
- Core gear working
- Evgen and Diman present and preferably conscious
- A rough set-flow plan — Concert Guide
Reputation rises and falls here more than anywhere else. A beautiful afternoon of exploration means nothing if you miss the stage energy that feeds endings.
Day-loop exploration tips
Morning
Check main objectives and bandmate status at the garage. Plot a route that double-dips: cans on the way to an odd job, bar rumor on the way to a venue scout.
Midday
Run S-tier money and map learning together. Prefer honest odd jobs and can loops over all-in blackjack unless you already capped a bankroll — Make Money.
Afternoon
Optional A-tier risk only with buffer. If Evgen or Diman is missing, roster recovery outranks sightseeing — Bandmates.
Early evening
Stop earning. Stage gear. Manage ADR. Travel to the venue early enough that a street fight cannot erase the night.
After the show
Now explore for collectibles, social following flex, and story conversations you deferred — Collectibles.
Demo map vs full-week map
The free demo teaches the core neighborhood across days 1–3. The full seven-day game reuses that geography with denser quests, tougher nights, and late-week set pieces (campfire energy, garage-floor crisis teases, lawyer-level jobs). Learning street shortcuts in the demo still helps; assuming identical job order does not. See Demo vs Full Game.
Common navigation mistakes
- Wandering without a cash or roster goal
- Accepting a back-room job at 20:40
- Fighting in the street “because it was there” before a concert
- Ignoring bar intel that would have found Diman in ten minutes
- Treating the creek as a full-day vacation while the amp is still dead
Related reading
- Make Money — what to do at each stop
- Jobs Tier List — risk ranks for hustles
- Bandmates — why locations matter for Evgen and Diman
- Getting Started — first-hour orientation
- Guides Hub — full map of systems guides
Ashport rewards players who treat the neighborhood like a working circuit: garage for power, streets for filler, bars for intel, back rooms for calculated risk, venues for reputation. Learn the circuit, and the seven-day clock feels fair instead of cruel.
Frequently Asked Questions
Quick answers about surviving Ashport and making the 21:00 show.
Where should I spend most of day one?
Garage for gear checks, streets for cans and orientation, then bars for job leads — always with enough buffer to reach the 21:00 venue.
Are back rooms required?
Not every run needs the riskiest deals. Use them when you understand the ask and still have time before showtime; otherwise stick to odd jobs and cans.
Why does the trailer park creek matter?
It is part of Ashport’s exploration space and received demo fixes (including water). Use it for side routes and flavor, not as an excuse to miss the gig.
How do locations help find bandmates?
Ask in bars, follow street leads, and revisit last-known areas. Roster recovery beats optional sightseeing — see Bandmates.
Does the map change after the demo?
The neighborhood remains the spine; days 4–7 add denser quests and events on top of the same Ashport circuit.